Welcome to the Buildini™ Set Up Guide. If you have unboxed your Printer and are ready to start your 3D printing adventure, then you have come to the right place.
Follow the steps below to 3D print your first object on your Budmen Buildini™. If you have questions, please contact our support team.
Step 1:
PLACE ON SECURE SURFACE
In a dry environment, place the Printer on a secure surface where it cannot fall or tip over. Make sure the Printer is a minimum distance of two feet (24 inches) from other objects.
Step 2:
ATTACH SPOOL HOLDER
Inside your Robot Repair Bag, you will find the spool holder attachment and two M3 x 12mm screws.
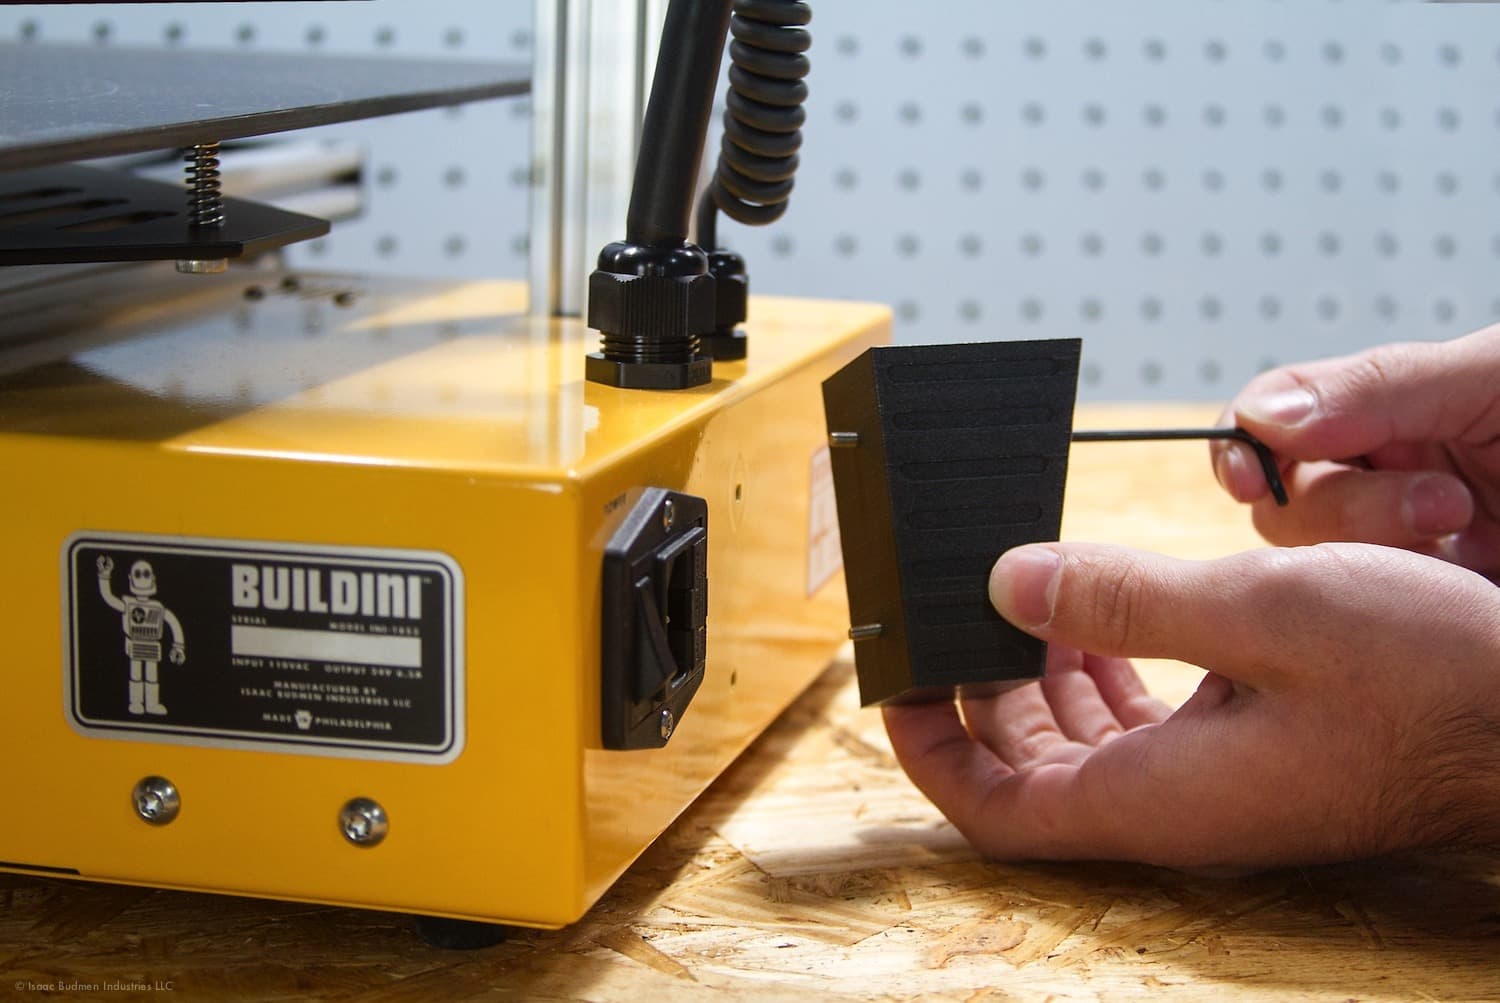
Securely fasten the attachment to the back of the Printer using the two screws provided and your T10 Allen Key.
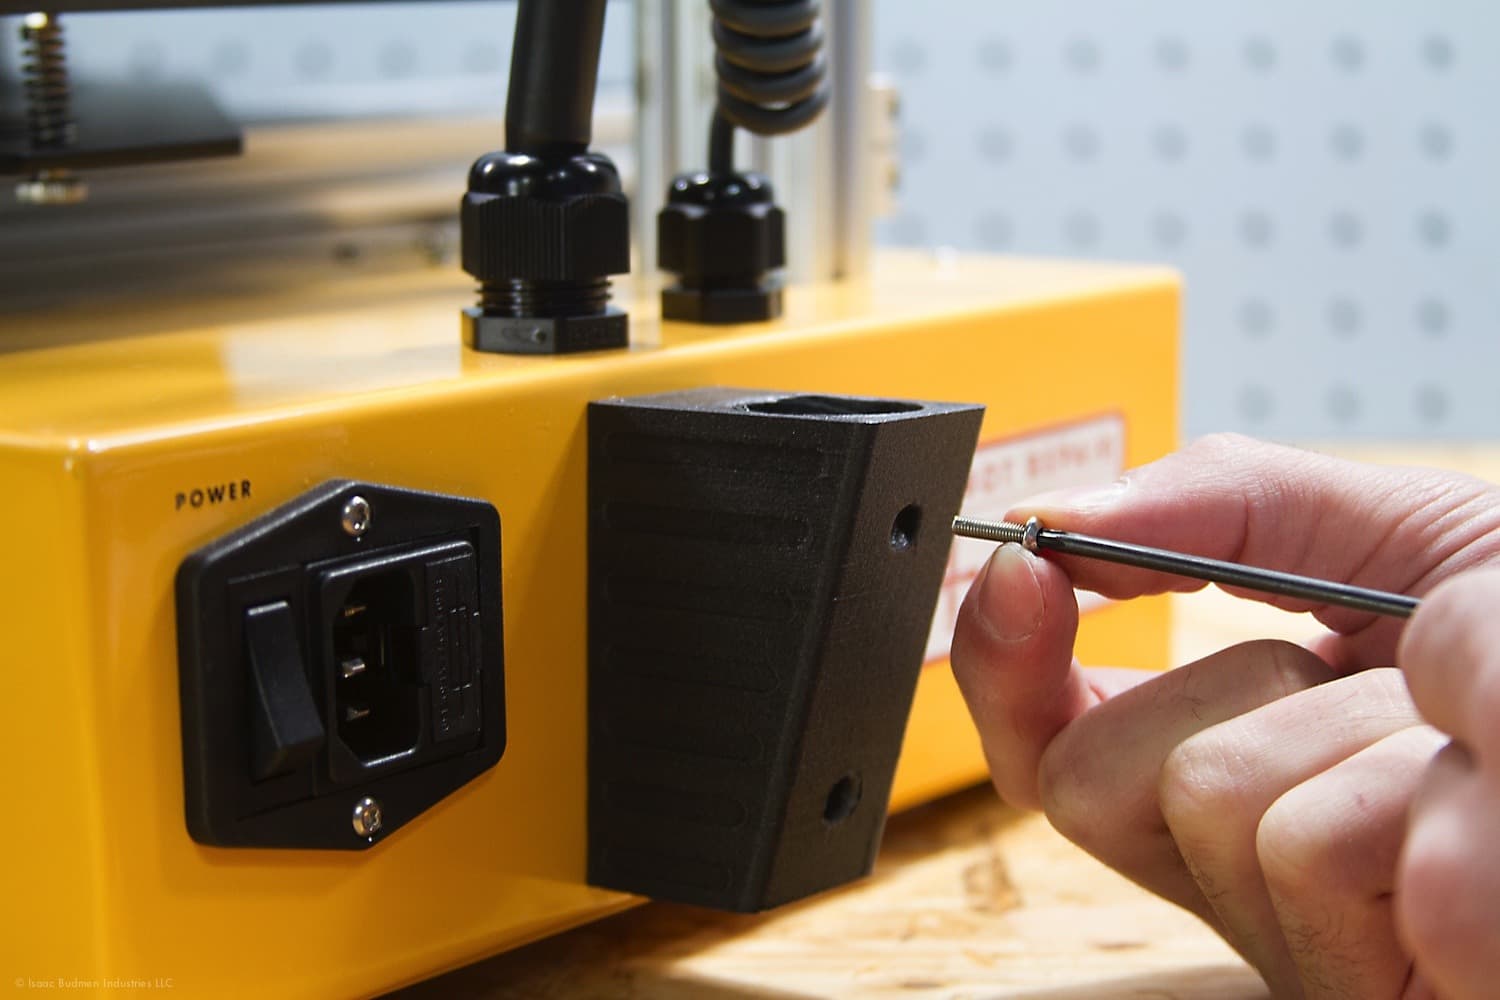
Insert the spool holder arm fully into the attachment.
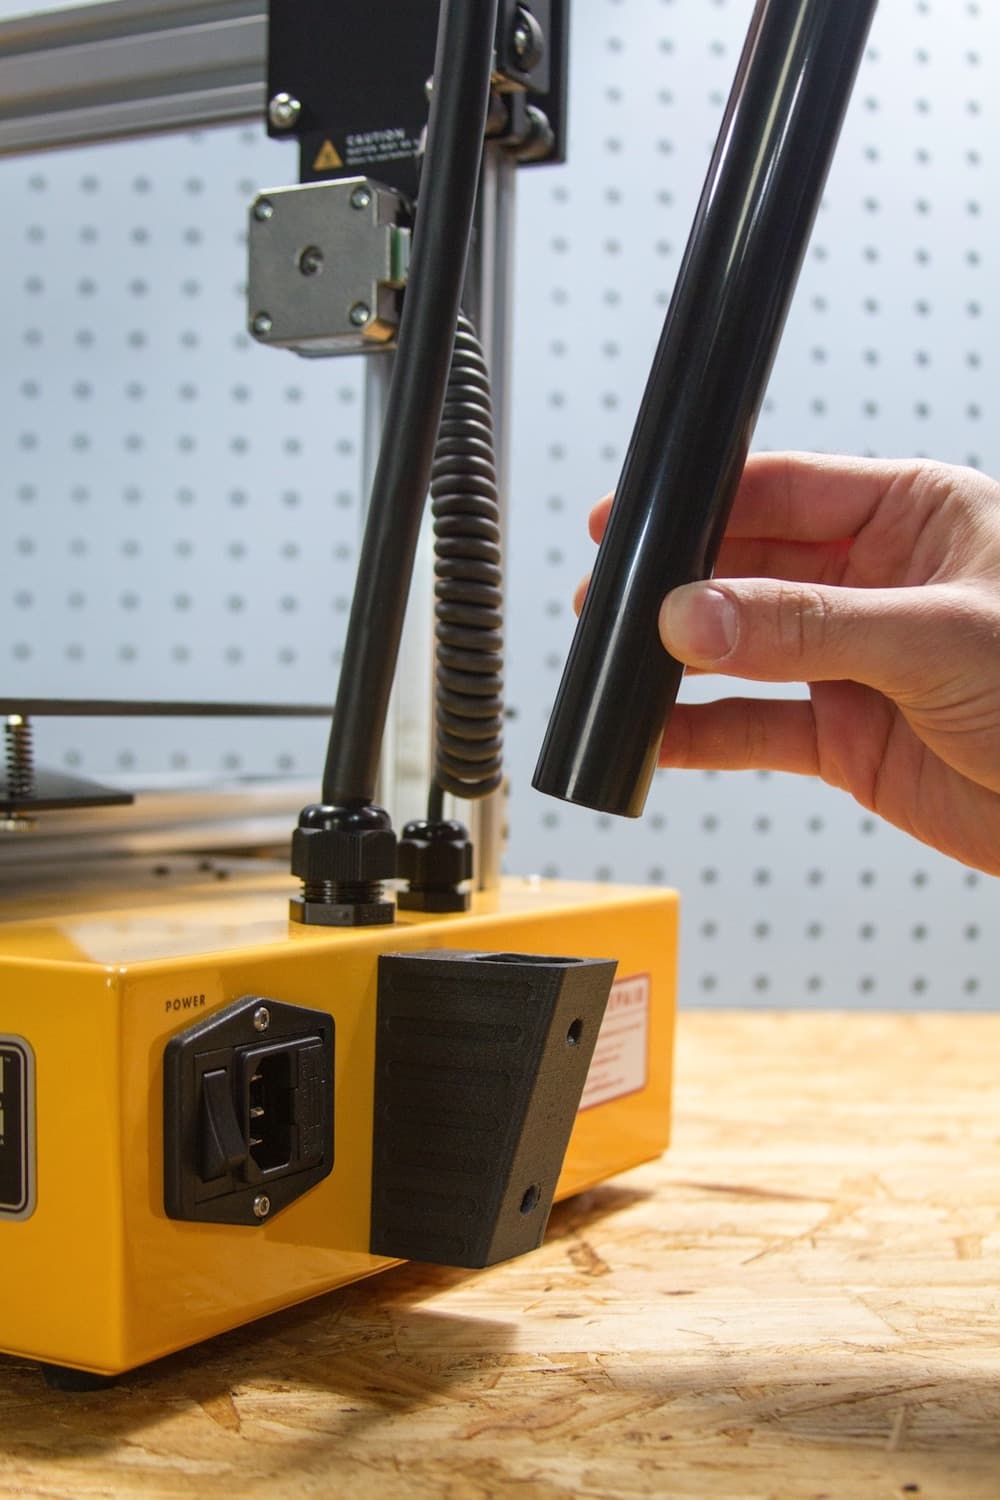
The top of the spool holder arm should be parallel with the back edge of the Printer and facing away from the Z axis, as shown in the image below.
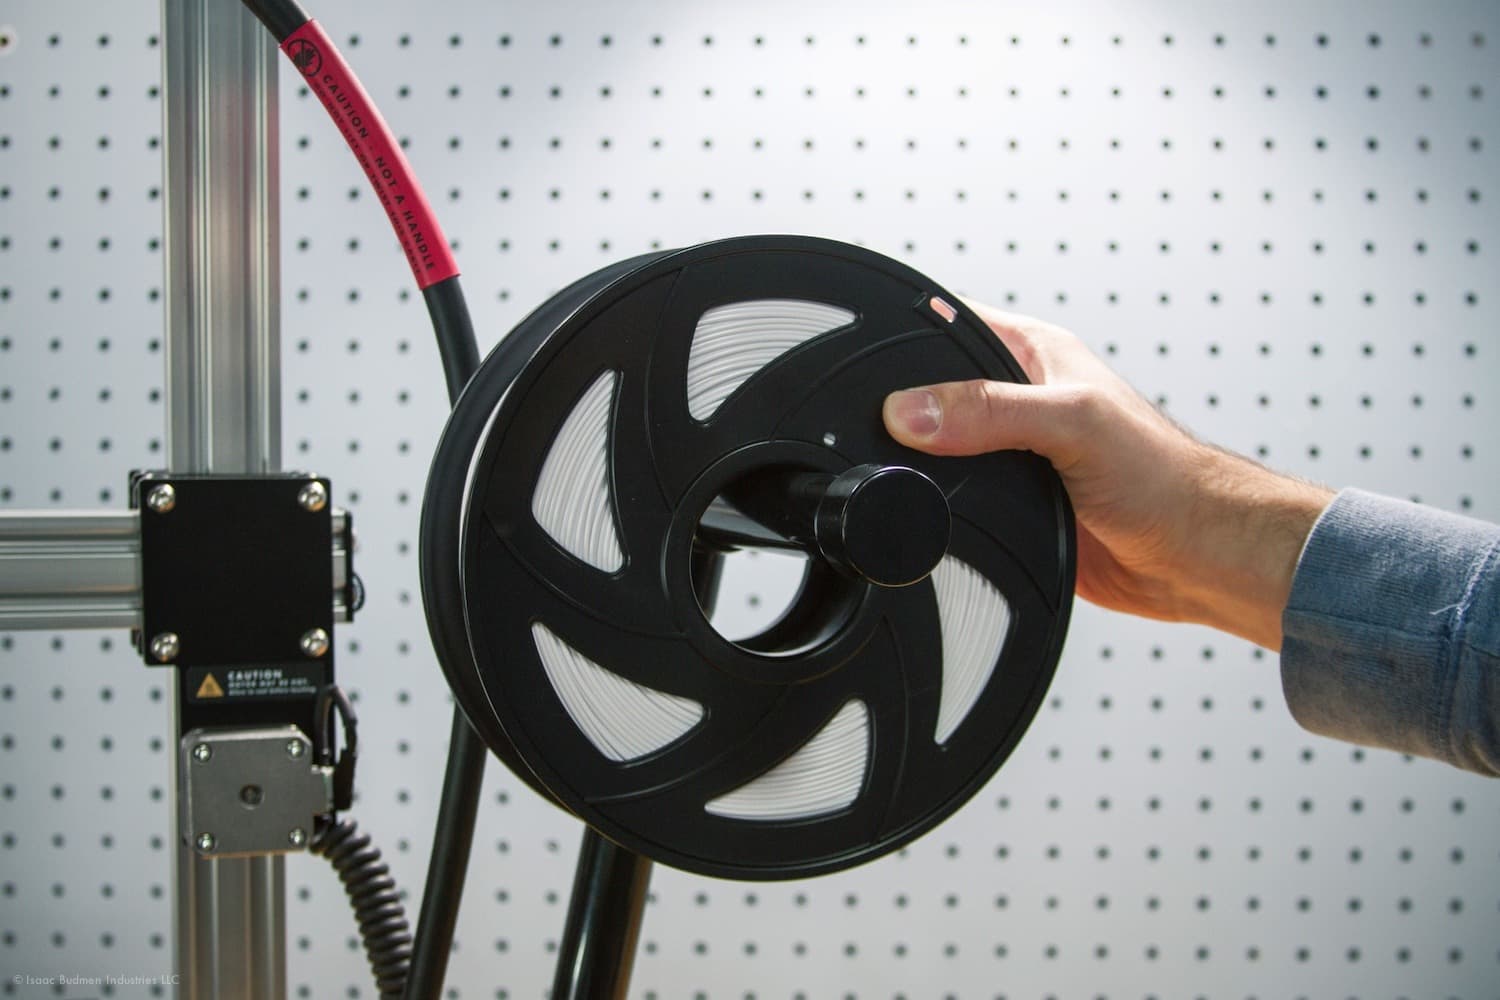
Place the provided filament on the spool holder arm. The filament should be oriented so that the loose end comes over the top of the spool and faces the front of the machine.
Step 3:
PLUG IN 3D PRINTER
The power inlet on the Buildini™ is located on the back, next to the spool holder attachment. Set the power switch on the Buildini™ to the off position as shown in the image below. Plug the provided power cord into the Printer.
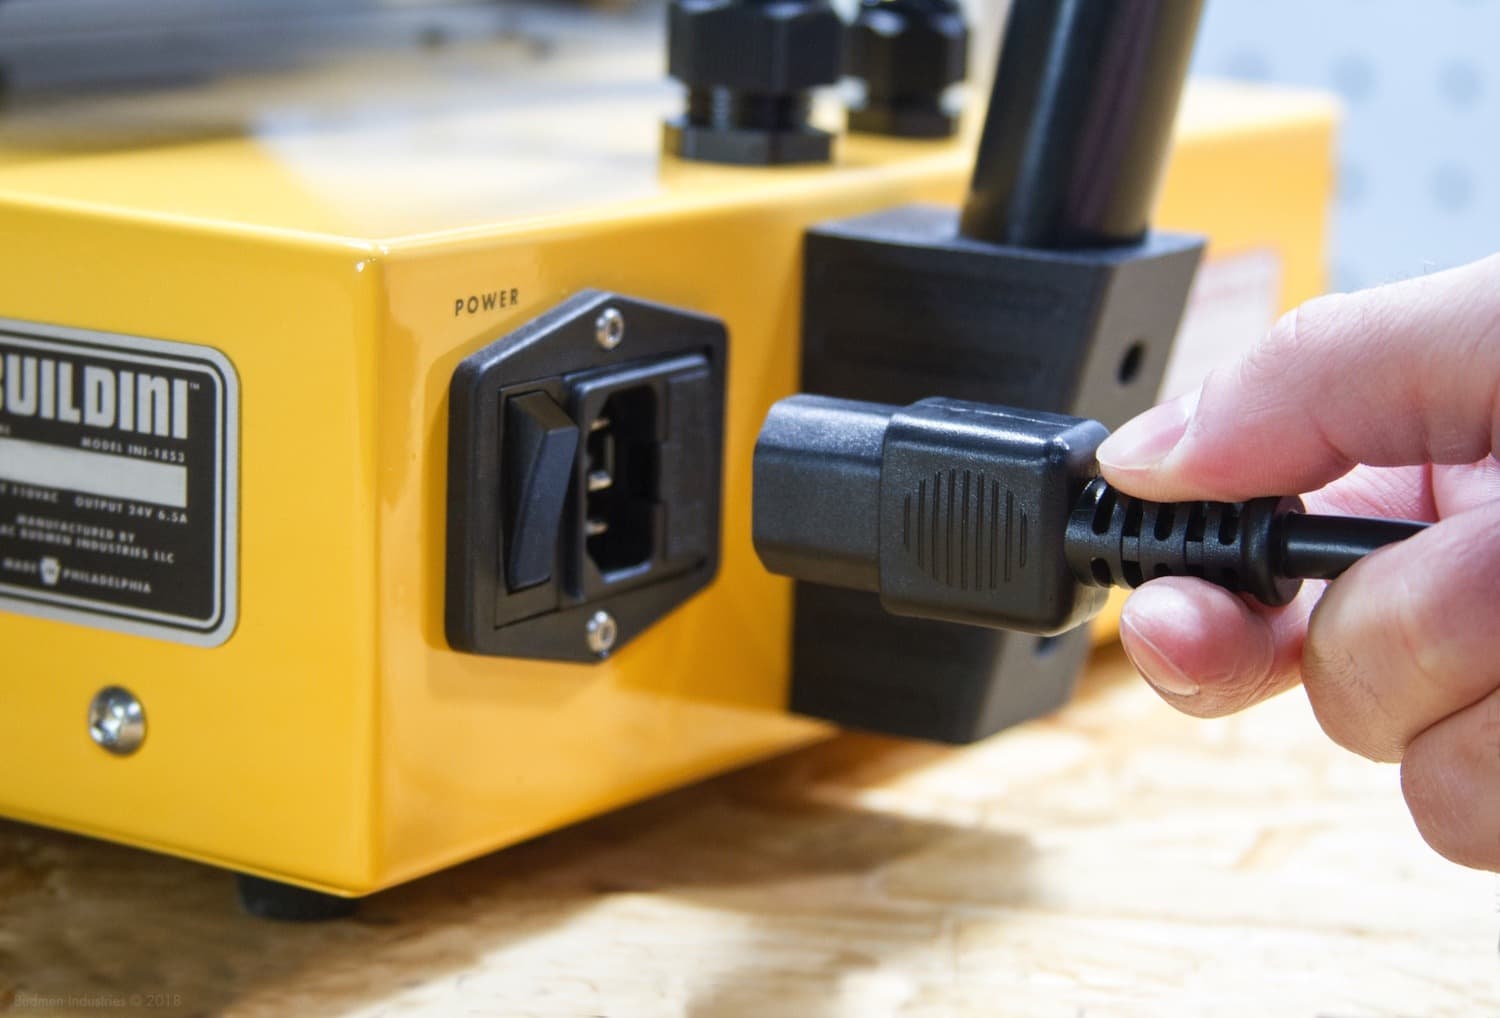
After inserting the plug into the 3D Printer, take the other end and plug it into a nearby wall outlet. If the cord length is insufficient, use an extension cord. Be sure the extension cord is rated for the Printer’s power requirements. Click the power switch to turn on the 3D Printer.
Step 4:
LEVEL THE BUILD PLATFORM
The LCD screen, located on the front of the Buildini™, will illuminate when the Printer is on. Click the Spin-N-Select Knob next to the LCD Screen to open the Main Menu. Spin the knob to navigate to Prepare and click to select. From the Prepare menu, navigate to Auto Home and click the knob again. The machine will now “home” to the front left corner of the build platform, the starting point for all Buildini™ 3D prints.
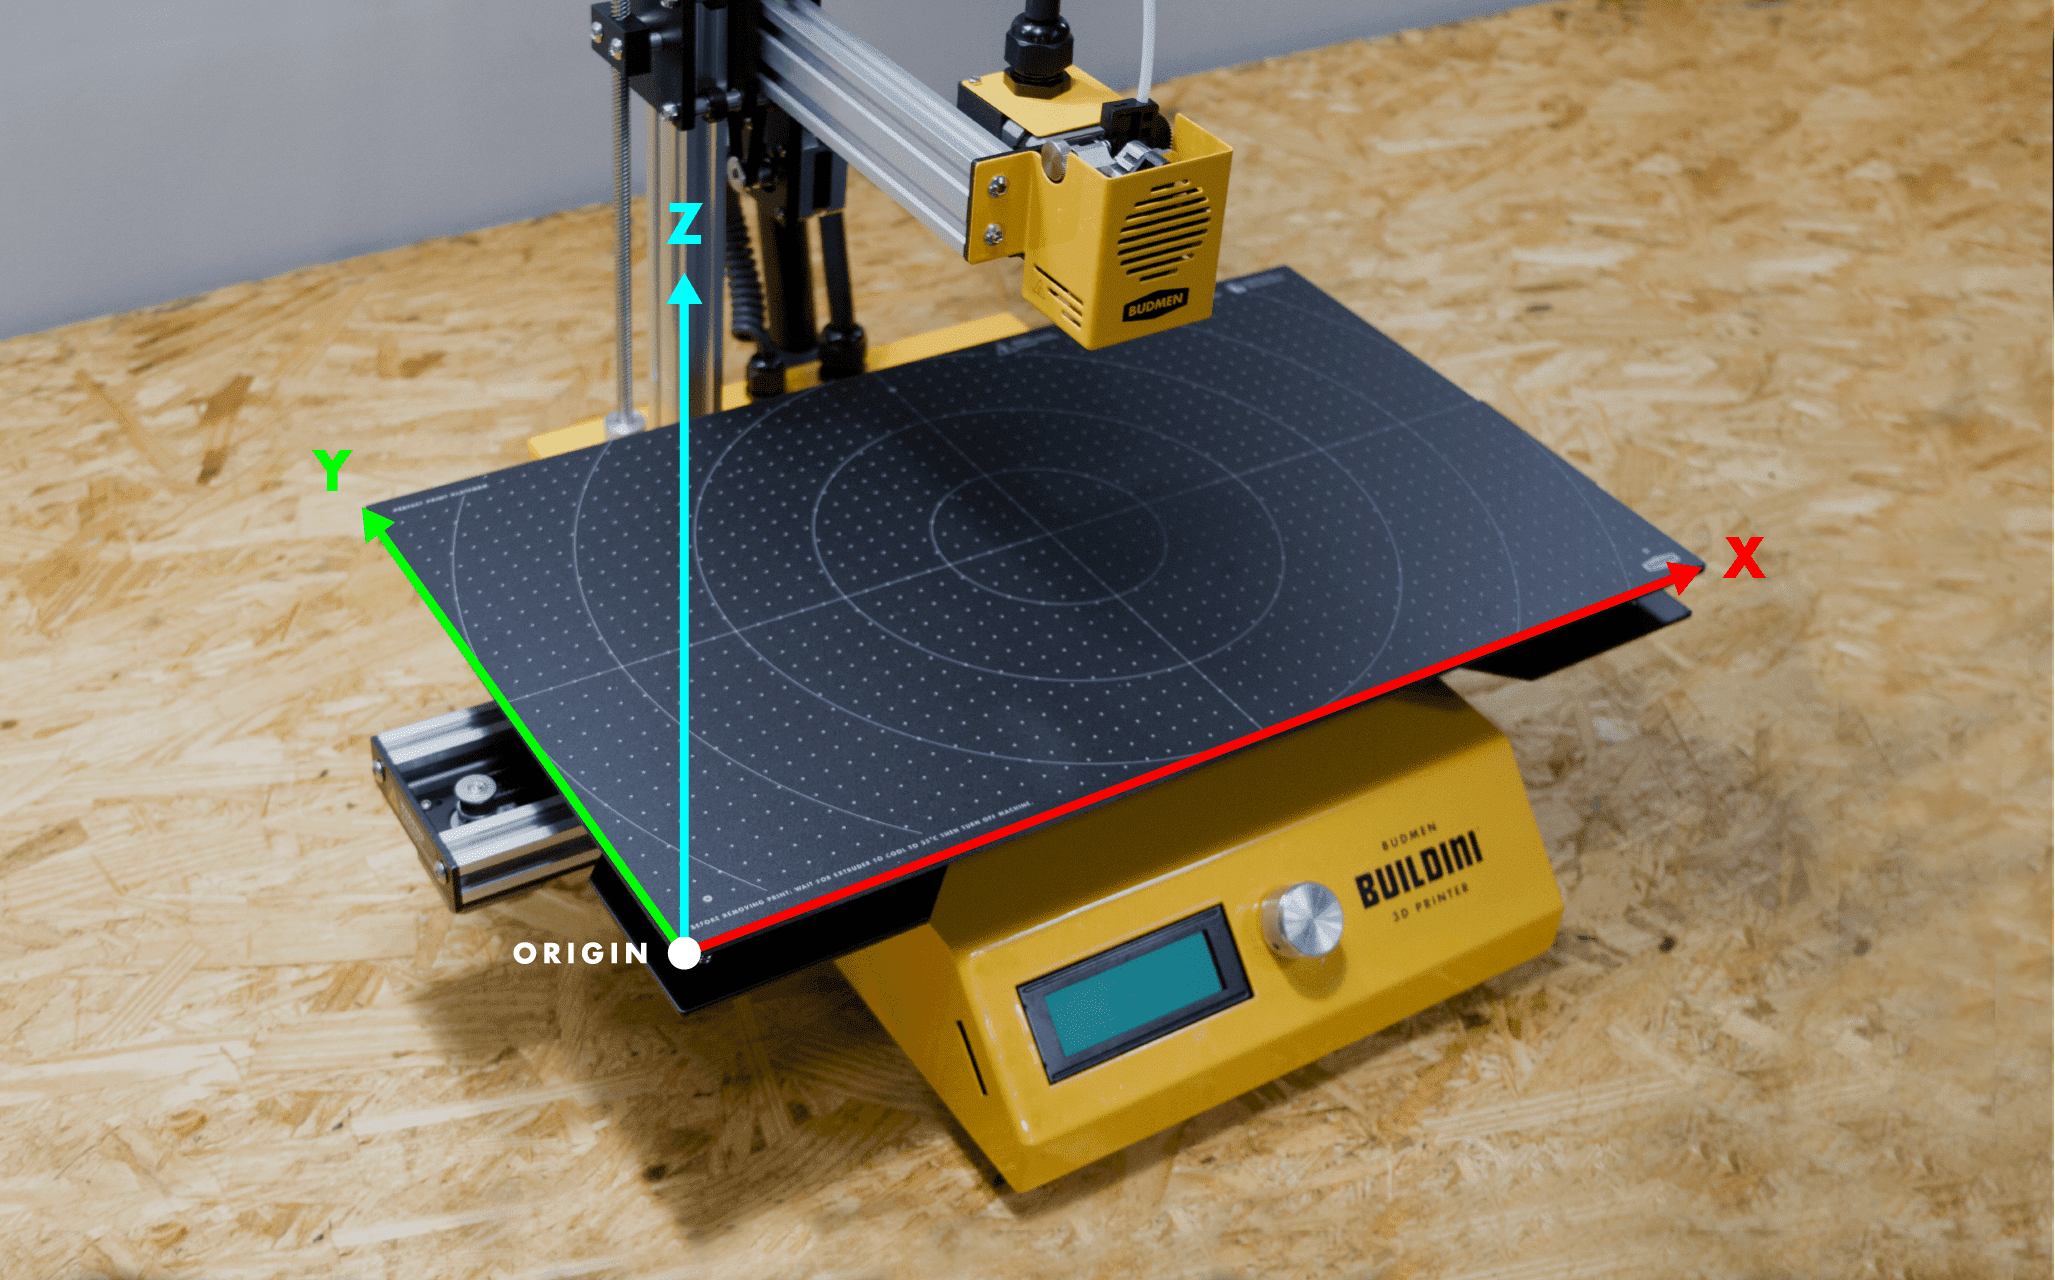
On the build platform, there are three leveling points, each with a leveling knob underneath. The build platform will raise or lower by adjusting the leveling knob.
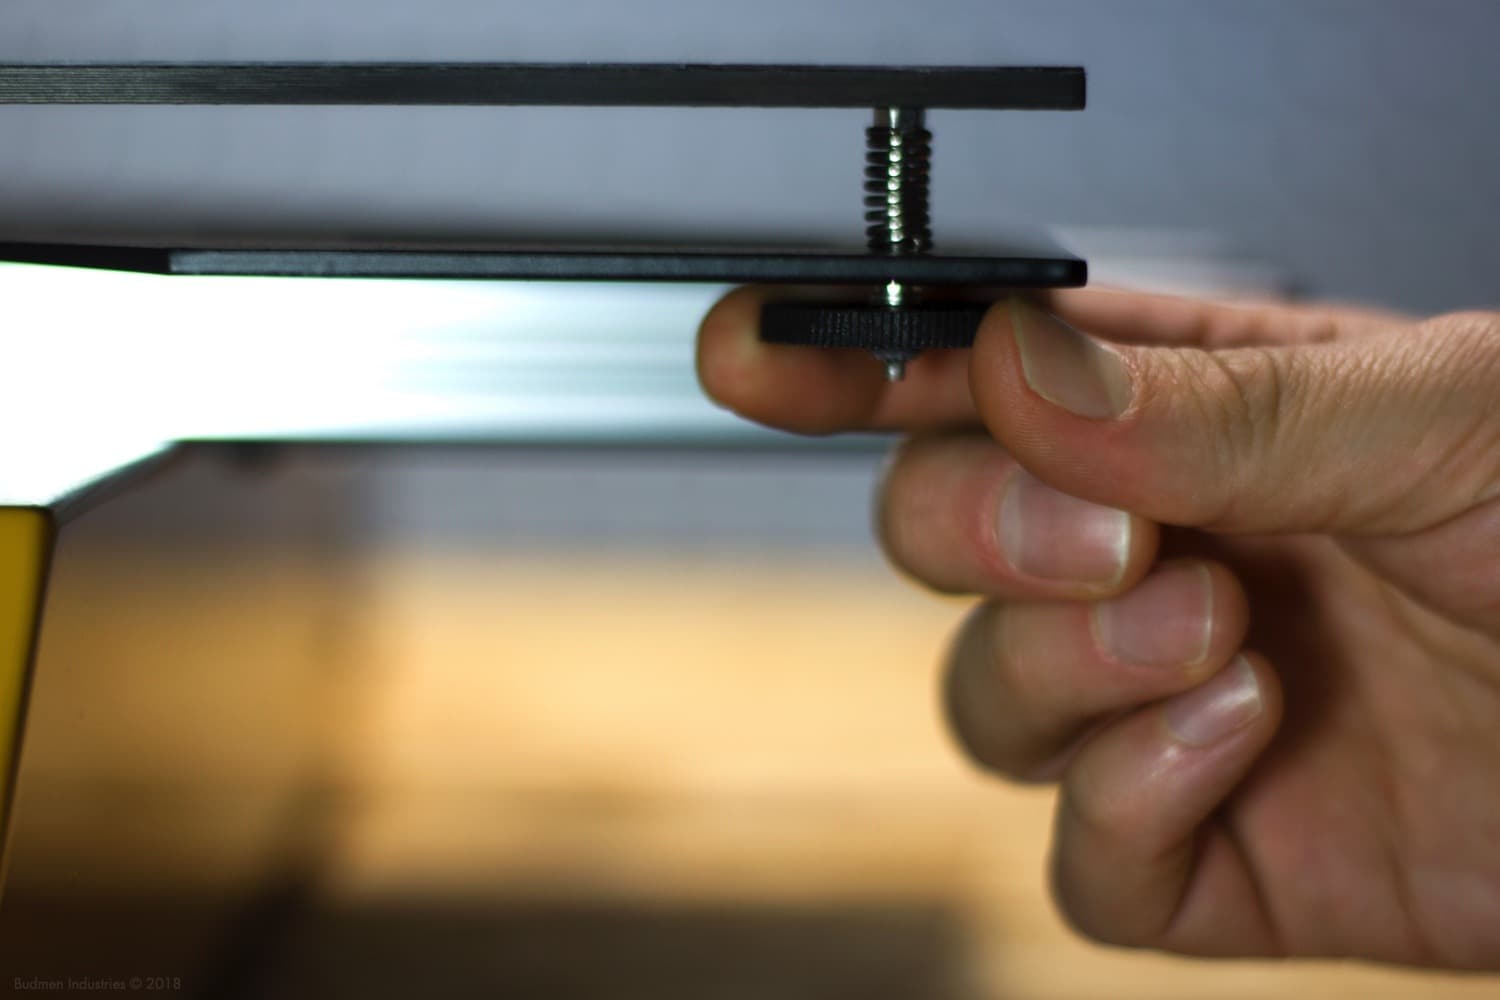
Return to the Prepare menu on the LCD screen and select Disable Motors to allow manual movement. Position the nozzle over one of the leveling points by moving both the extruder and build platform manually.
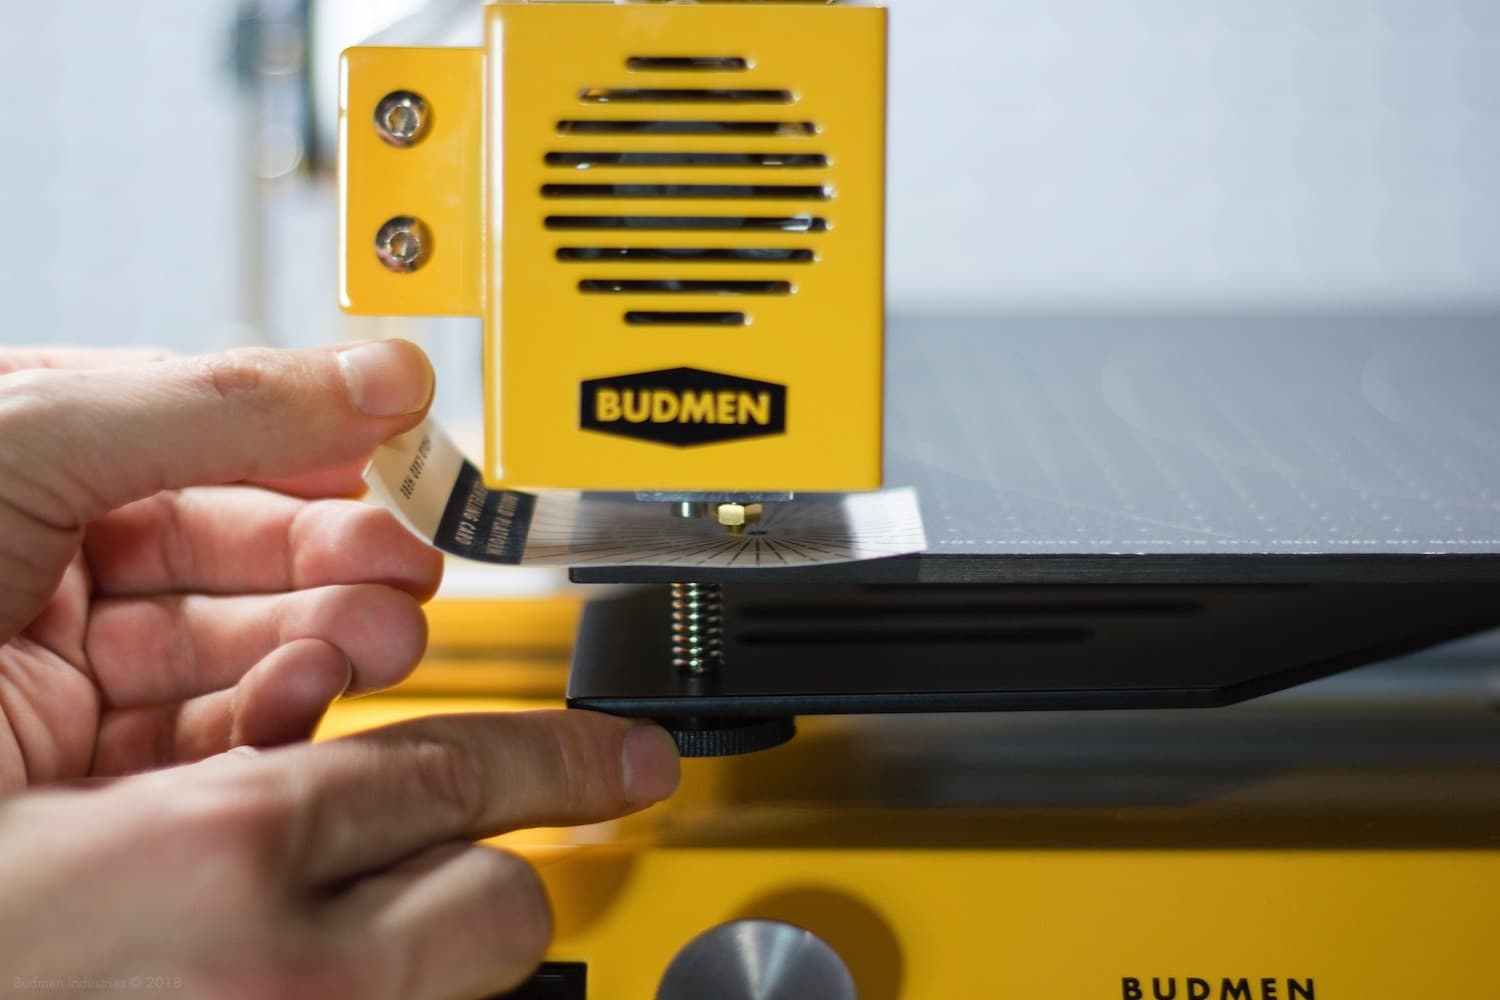
Use the provided leveling card to adjust the build platform height until there is a slight friction between the card and the nozzle.
Step 5:
MESH LEVELING
Leveling the build platform with the three leveling screws is a good start for getting a flat print surface, but the Mesh Leveling feature ensures a superior first layer. Mesh Leveling compensates for any minor curves or tilts in the build platform by creating a digital mesh used as a reference during printing.
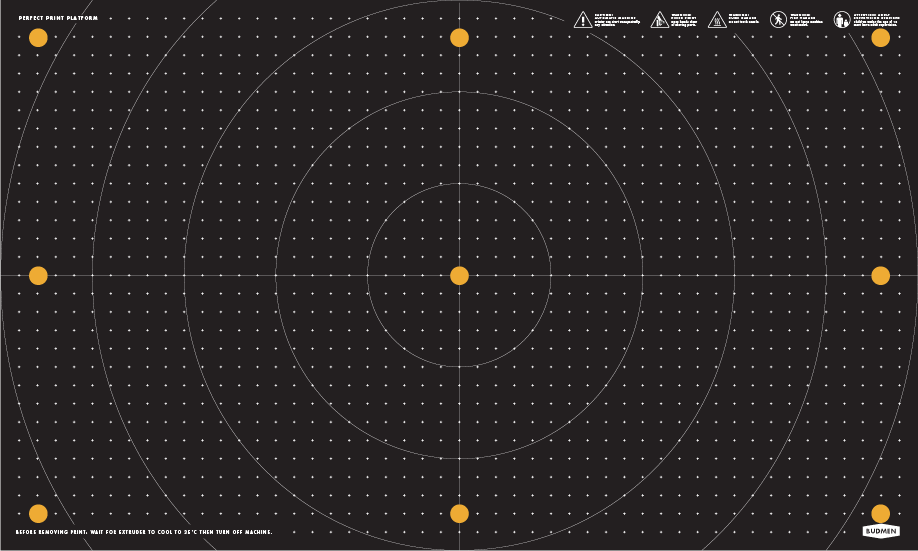
From the Main Menu on the LCD screen, navigate to Prepare and click the Spin-N-Select Knob. Select Bed Leveling, then choose Level Bed. The Buildini™ will now probe nine spots on the build platform to create a grid. Turn the Spin-N-Select Knob to adjust the nozzle height for each point.
